Display a Note
Now that we have a listing of all the notes, let’s create a page that displays a note and lets the user edit it.
The first thing we are going to need to do is load the note when our container loads. Just like what we did in the Home container. So let’s get started.
Add the Route
Let’s add a route for the note page that we are going to create.
 Add the following line to
 src/Routes.tsx below our /notes/new route.
<Route path="/notes/:id" element={<Notes />} />
This is important because we are going to be pattern matching to extract our note id from the URL.
By using the route path /notes/:id we are telling the router to send all matching routes to our component Notes. This will also end up matching the route /notes/new with an id of new. To ensure that doesn’t happen, we put our /notes/new route before the pattern matching one.
 And include our component in the header.
import Notes from "./containers/Notes.tsx";
Of course this component doesn’t exist yet and we are going to create it now.
Add the Container
 Create a new file
 src/containers/Notes.tsx and add the following.
import React, { useRef, useState, useEffect } from "react";
import { useParams, useNavigate } from "react-router-dom";
import { API, Storage } from "aws-amplify";
import { onError } from "../lib/errorLib";

export default function Notes() {
  const file = useRef<null | File>(null)
  const { id } = useParams();
  const nav = useNavigate();
  const [note, setNote] = useState(null);
  const [content, setContent] = useState("");

  useEffect(() => {
    function loadNote() {
      return API.get("notes", `/notes/${id}`, {});
    }

    async function onLoad() {
      try {
        const note = await loadNote();
        const { content, attachment } = note;

        if (attachment) {
          note.attachmentURL = await Storage.vault.get(attachment);
        }

        setContent(content);
        setNote(note);
      } catch (e) {
        onError(e);
      }
    }

    onLoad();
  }, [id]);

  return <div className="Notes"></div>;
}
We are doing a couple of things here.
-
We are using the
useEffectHook to load the note when our component first loads. We then save it to the state. We get theidof our note from the URL usinguseParamshook that comes with React Router. Theidis a part of the pattern matching in our route (/notes/:id). -
If there is an attachment, we use the key to get a secure link to the file we uploaded to S3. We then store this in the new note object as
note.attachmentURL. -
The reason why we have the
noteobject in the state along with thecontentand theattachmentURLis because we will be using this later when the user edits the note.
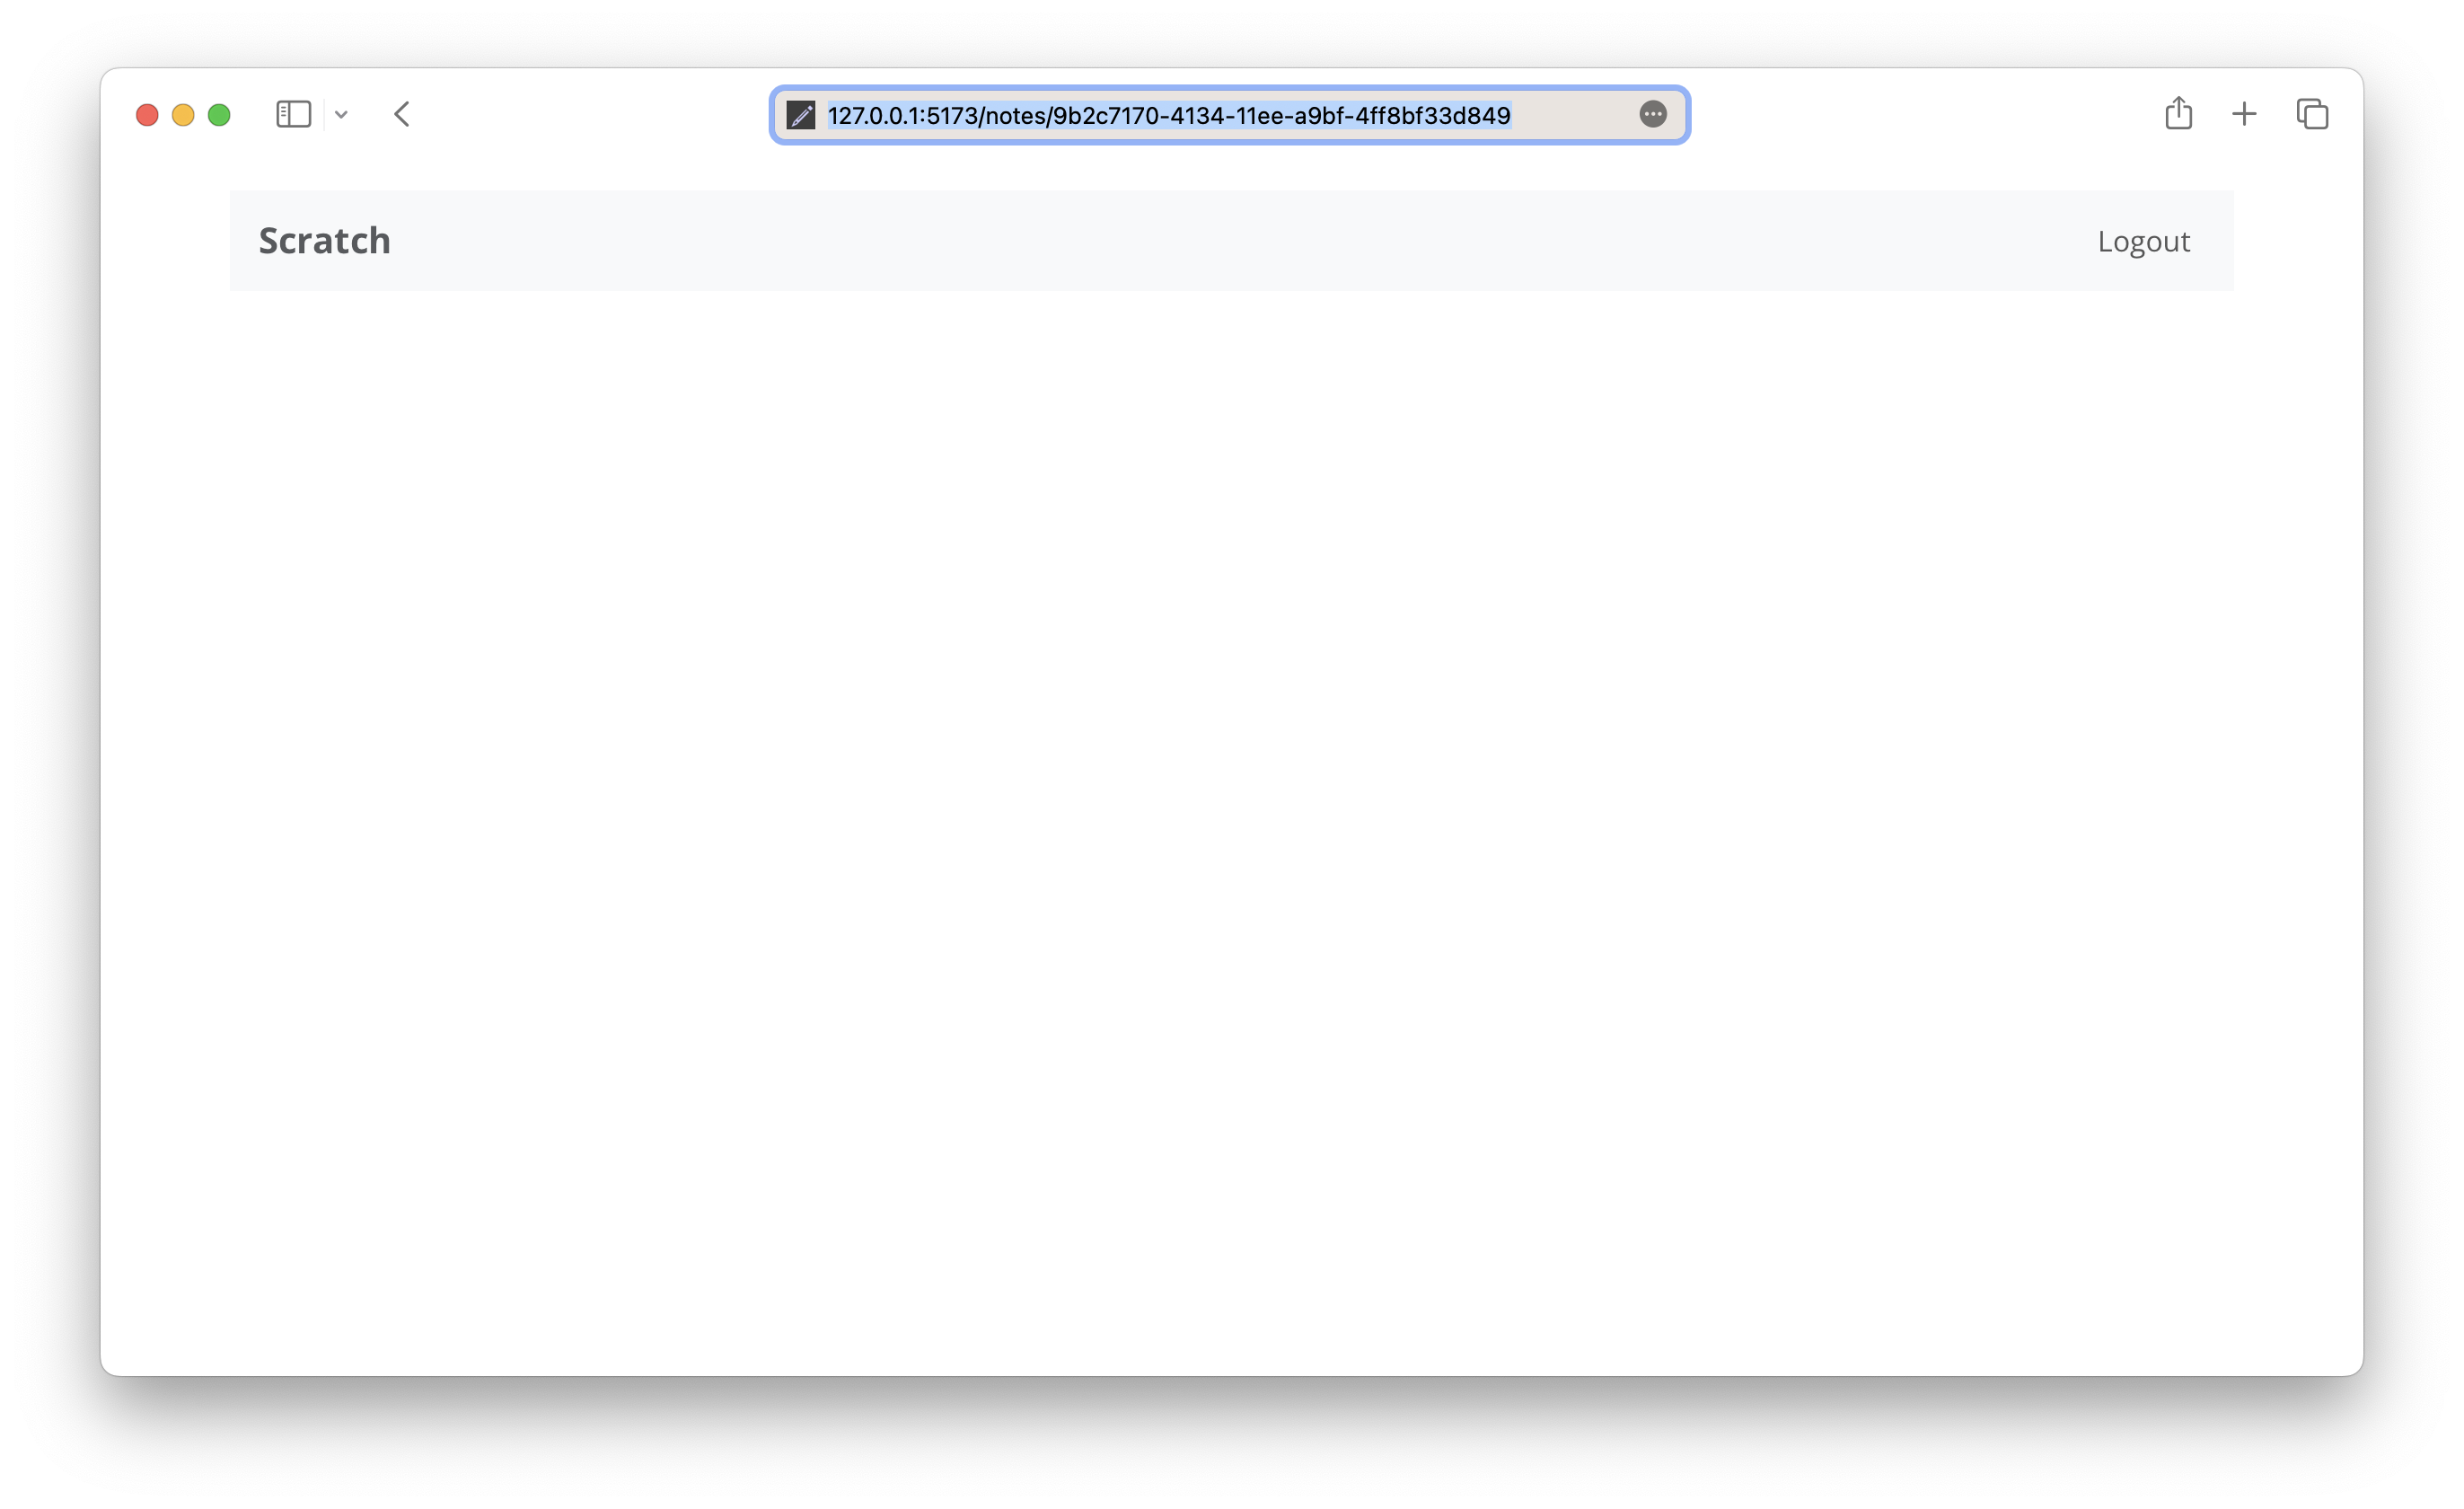
Now if you switch over to your browser and navigate to a note that we previously created, you’ll notice that the page renders an empty container.

Next up, we are going to render the note we just loaded.
For help and discussion
Comments on this chapter

